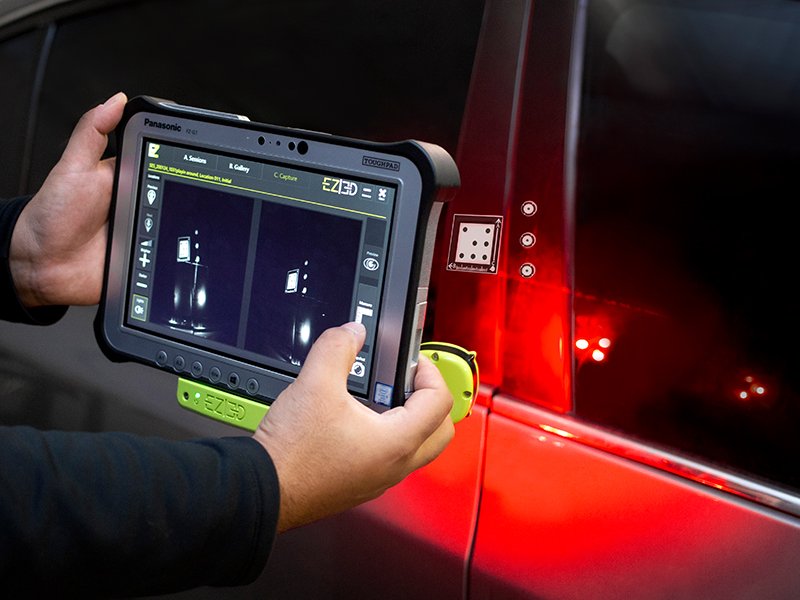

EZ|3D is an innovative camera system that utilizes a simple “point-and-shoot” interface to measure relative surface part assembly deformations, all within a standalone handheld device. It also measures gap/flush/sheer evolutions during climate test, load test of a structure or assembly and is able to do this in extreme conditions. There are also different target sizes that can be used in order to tailor to the application. These results are then sent to a user-friendly software to be analyzed and then the software will create a graphical representation.
EZ | 3D requires no installation for typical use. The included tablet computer comes preinstalled with software that captures, measures, and stores all pertaining data. Each kit comes with an array of adhesive targets that allow precise measurements of specific points along any surface.
Using proven stereoscopic vision, EZ | 3D is able to track points relative to a given reference and determine their position in space. Measurements can then be taken again after testing to detect any deformation in the observed assembly. The values displayed at this point reflect the change in position from the initial image taken.
Simple controls
Multiple input/output options
Real-time status feedback
Immediate numerical and graphical report
Template for testing procedures
Data export in CSV or other file formats
All – In – One
Eliminate the need for gap and step gauges. EZ | 3D not only measures the gap and flushness between two surfaces, but can also measure lateral shifting that may occur during testing. Multiple target points can be used to truly examine the profile of any surface.
Features
Easy to use
Uses HD cameras
Faster and more accurate than other gauges
Measures in three dimensions at once
Touchscreen
Handheld
Import/export automated recording
Point-and-shoot
Adhesive targets
Use in dark and light areas
Measure several points in a single snapshot
Intuitive work flow
Expedited Reporting
All data collected using the EZ | 3D system can be exported as a spreadsheet (*.xlsx) and is very simple to view. Each location on the part or vehicle is designated by a customizable tag that appears at the top of each table. This provides fluid communication of vital records between personnel with minimal explanation.
Have further questions about this product? Contact us now to talk to an EZMetrology expert.


